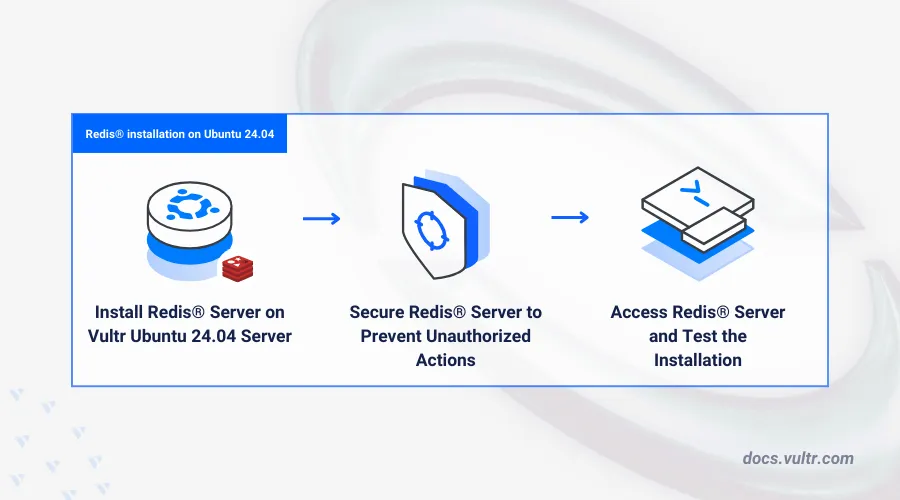
If you're building high-performance, real-time applications or want to boost the speed of your database-driven projects, Redis is a must-have tool in your tech stack. Redis is an open-source, in-memory data structure store used as a database, cache, and message broker. In this blog, we’ll walk you through how to install Redis in Ubuntu 24.04, using simple, clear steps based on the official Vultr documentation.
Why Redis?
Redis (Remote Dictionary Server) is well-known for its lightning-fast performance. It supports a variety of data structures like strings, hashes, lists, sets, and sorted sets. It is widely used for:
-
Caching to reduce load on databases
-
Real-time analytics dashboards
-
Message queues
-
Leaderboards in gaming applications
-
Session storage in web applications
Its in-memory nature means that Redis operates at incredible speed, and when paired with Ubuntu 24.04, it creates a highly efficient development environment.
System Requirements
Before starting the installation, ensure you have:
-
A system running Ubuntu 24.04
-
A user account with sudo privileges
-
An internet connection
How to Install Redis in Ubuntu 24.04
Let’s now walk through the Redis installation process.
Step 1: Update the System
Before installing Redis, update your system to the latest available packages:
sudo apt update
sudo apt upgrade -y
This ensures your system is up-to-date and avoids compatibility issues during installation.
Step 2: Install Redis Server
Ubuntu 24.04’s default repositories include the Redis package, making installation straightforward:
sudo apt install redis-server -y
This command installs the Redis server along with its dependencies.
Step 3: Configure Redis to Use systemd
After installation, you’ll want Redis to integrate with Ubuntu’s systemd service manager for better performance and control.
-
Open the Redis configuration file:
sudo nano /etc/redis/redis.conf
-
Locate the line that reads:
supervised no
-
Change it to:
supervised systemd
-
Save the file and exit (Ctrl + O, then Enter, then Ctrl + X).
This change tells Redis to work seamlessly with Ubuntu’s systemd service controller.
Step 4: Enable and Start the Redis Service
Start the Redis service and make sure it runs on boot:
sudo systemctl enable redis
sudo systemctl start redis
Check the service status with:
sudo systemctl status redis
You should see that the Redis service is “active (running).”
Step 5: Test the Redis Installation
Now that Redis is installed and running, test it using the command-line interface:
redis-cli
Once in the Redis CLI, type:
ping
If everything is working, Redis will reply with:
PONG
This confirms that your Redis server is functioning correctly.
Securing Redis (Optional but Recommended)
For production environments, you should take some extra steps to secure your Redis instance:
-
Set a password by editing the requirepass directive in the Redis configuration file.
-
Bind Redis to localhost or internal IP addresses only.
-
Use a firewall to block access from unauthorized IPs.
-
Enable TLS if transmitting sensitive data.
Conclusion
Installing Redis in Ubuntu 24.04 is simple, fast, and extremely beneficial for projects that demand speed and efficiency. With just a few terminal commands, you can have a powerful in-memory data store up and running on your system.
Redis is a key component in the backend of many large-scale systems, and mastering its installation and setup gives you a strong edge in application performance optimization. Whether you're a developer, DevOps engineer, or system admin, learning to install Redis in Ubuntu 24.04 is a practical and valuable skill.
Start optimizing your applications with Redis today!
 Free IL


