 Free IL

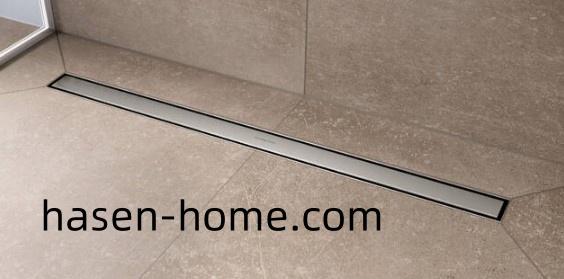
If you are considering upgrading your bathroom or installing a new shower, a shower channel drain china can be a great addition to your renovation project. These drains are designed to provide efficient water flow while maintaining a clean and sleek look. By following the correct installation steps, you can easily improve your bathroom's drainage system and enhance the overall design.
1. Choose the Right Drain Design and Material
The first step in installing a shower channel drain is choosing the right design and material. Shower drains from China are available in various materials, including stainless steel, which is known for its resistance to rust and its long-lasting durability. The choice of material will affect not only the performance but also the appearance of your shower area.
Consider opting for high-quality options that ensure easy maintenance and a contemporary look. Whether you want a minimalist, modern design or something more classic, the right drain can complement your overall bathroom theme.
2. Proper Measurement and Placement
Accurate measurement and placement of the shower channel drain are essential for a successful installation. You need to ensure that the drain fits your shower area perfectly. Take measurements of the space where the drain will be installed, including the length, width, and depth. Also, ensure that the area is leveled and that the slope directs water flow toward the drain.
Proper installation involves a slight slope that allows water to flow naturally, preventing stagnant water from collecting on the shower floor.
3. Installing the Drain and Connecting to the System
Once you've measured the space and chosen the right drain, the next step is installation. Install the drain at the correct level so that it aligns with the shower floor. Shower channel drains from China typically come with installation instructions, but if you're unsure, consider consulting a professional plumber.
Connect the drain to the existing plumbing system, ensuring that the waste pipe is properly aligned. Sealing all joints and ensuring no leaks are present is crucial to a successful installation.
4. Waterproofing the Area
Before finishing the installation, it is essential to apply waterproofing materials around the drain area. This step ensures that water does not seep into the surrounding walls or floor, which could lead to long-term damage. Waterproofing is particularly important in high-moisture areas like showers, where constant exposure to water can cause severe issues without proper precautions.
Make sure the membrane is applied evenly around the drain area to create a seamless barrier that protects against water damage.
5. Testing the System for Efficiency
Once the installation is complete, it's time to test the system. Turn on the water and observe how the shower area drains. There should be no water pooling or slow drainage, and the water should flow smoothly down the channel drain. Testing ensures that the drain is functioning as expected and that all connections are sealed properly.
Installing a shower channel drain in your home can greatly improve the efficiency of your bathroom's drainage system. With proper planning, measurement, and installation, you can enjoy a well-functioning and aesthetically pleasing shower drain. Hasen-Home offers a range of reliable and durable shower drain solutions to meet your needs and enhance your bathroom's performance.
For more information on shower channel drains, visit:Hasen-Home https://www.hasen-home.com/product/